Powerhouse your diet – add green leafy, yellow/orange, citrus and cruciferous items to our diet.
Why? Reduced risk of chronic disease, plus they are packed with nutrition to fuel our bodies and minds. But the most important reason is they are easy to use, quick to cook, and oh so tasty.
Also, this is a great prep ahead and cook last minute dish.
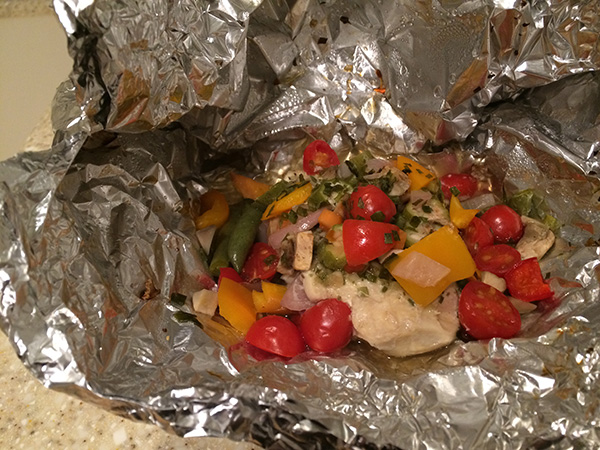
You can switch these ingredients for so many variations, whatever is fresh and strikes your fancy at the farmers market or CSA basket. Try substituting chard for beet greens, spinach, chicory, leaf lettuce, watercress, Chinese cabbage, collard greens, kale, or arugula and you’ll still get that same great powerhouse punch.
Check out these other powerhouse foods studied for their nutrient density by the CDC.
Yield: 3 servings
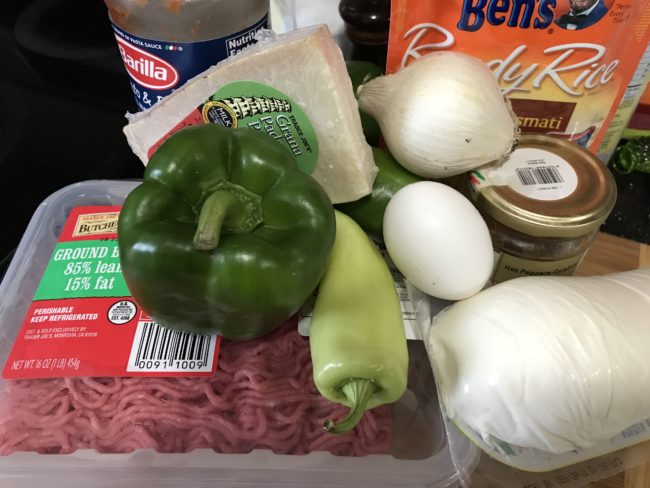
Ingredients:
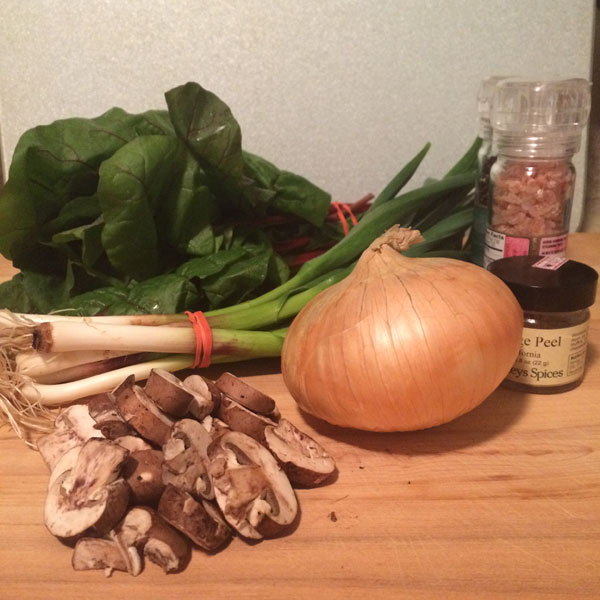
Rainbow chard, 1 bunch, chopped (~5 cups)
Onion, ½ large, chopped
Green garlic, 2 stalks, sliced in rounds
Baby Bella mushrooms, 2 cups
Salt and Pepper to taste (or ¼ teaspoon each)
Coconut oil, 1 teaspoon
Optional: Orange peel (can be added during sautéing for brightness)
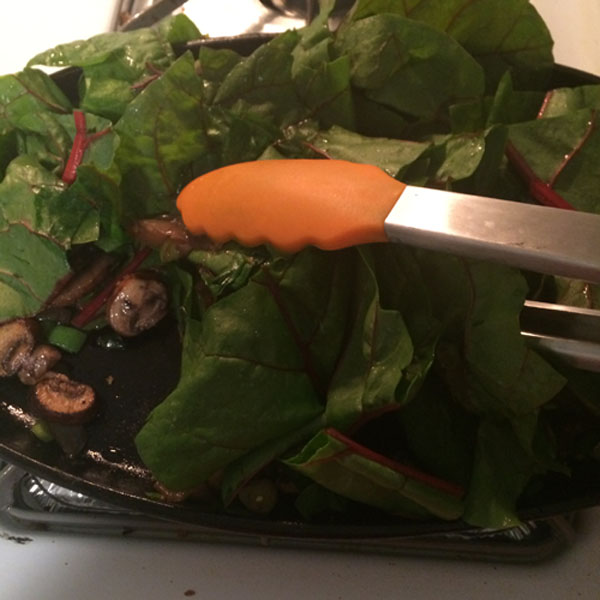
Step 1: Prepare the chard by washing, spinning damp dry, and roughly chopping. Discard the toughest part of the stem; the rest softens a bit in cooking, but some prefer to remove the stem entirely.
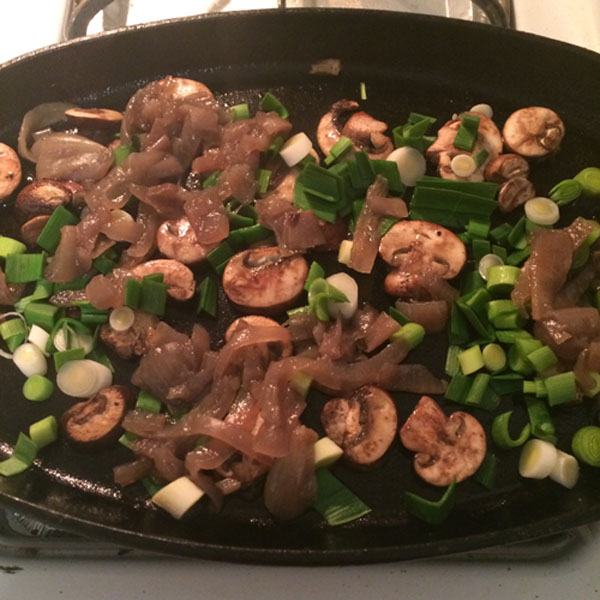
Step 2: Chop onion half, slice mushrooms, and slice green garlic stalks into rounds. (We include the green tops of the stalks – yummy.) If you are preparing more items, you could hold ingredients at this step until a few minutes before eating for best flavor.
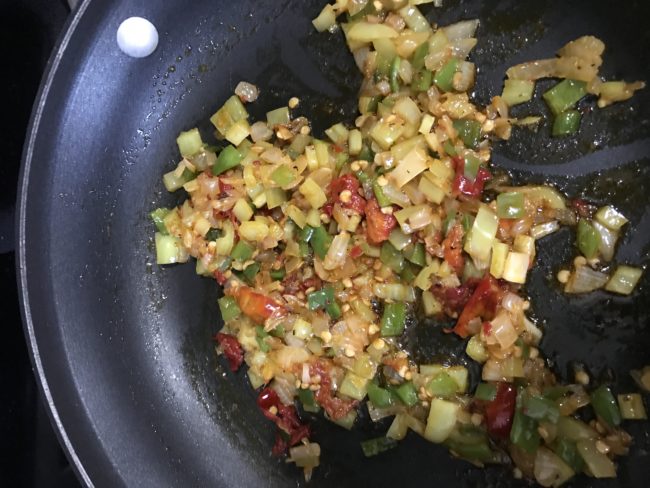
Step 3: Sauté onion, garlic, and mushroom in oil for 5 minutes to soften.
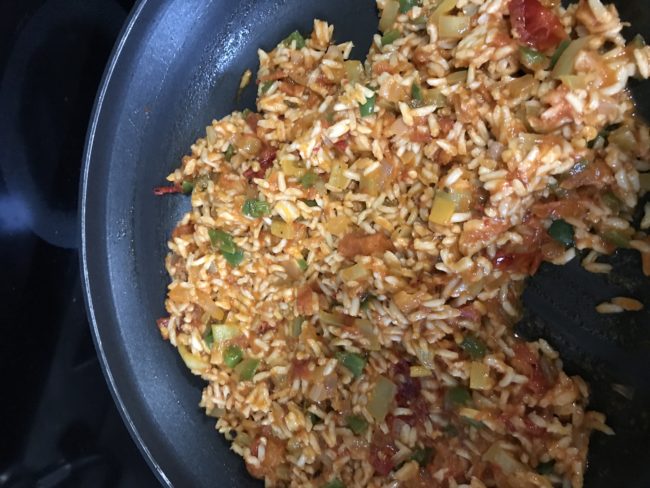
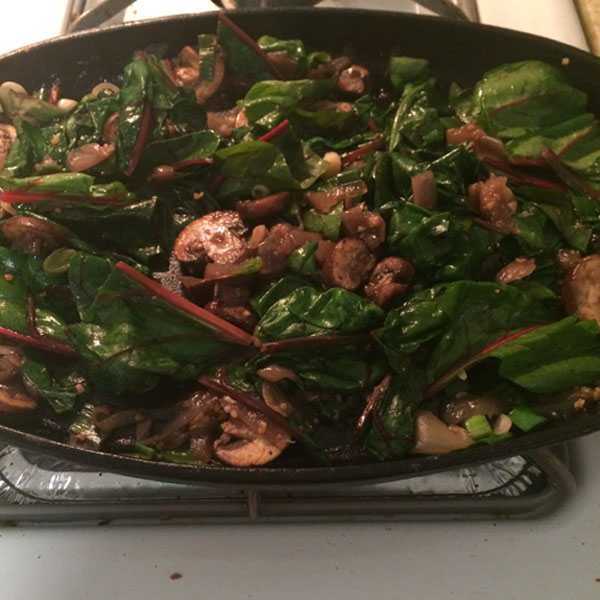
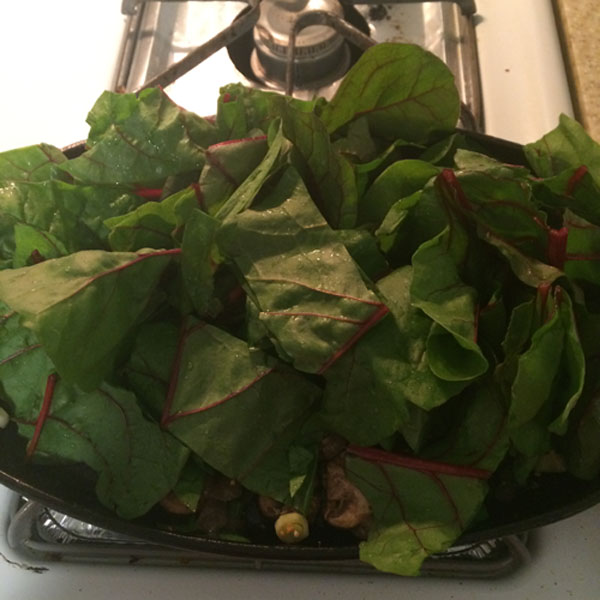
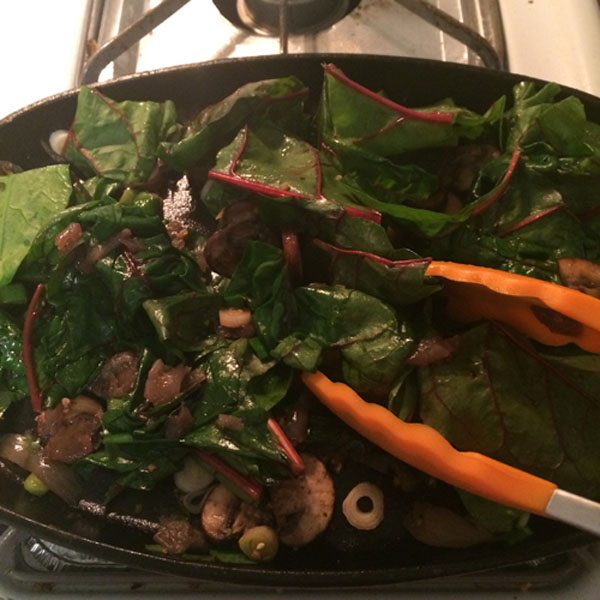
Step 4: Pile on the chopped chard and sauté, watching and turning the chard periodically and cooking until just wilted down and tender – you want to give this a quick cook so that you retain as much nutrition and flavor as possible.
Step 5: Salt and pepper to taste, toss thoroughly. Eat and enjoy.
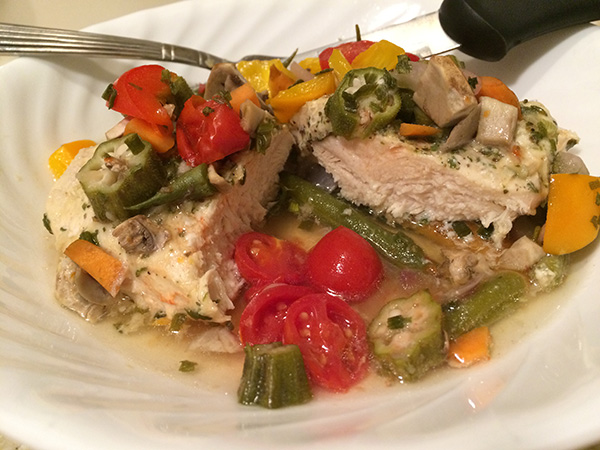
Serving suggestion – this makes a great breakfast or brunch dish with a poached or fried egg on top.
Nutrition Analysis
Recipe yields 3 servings. Per serving, using ¼ teaspoon salt and ¼ teaspoon black pepper: 51 calories, 8 grams carbohydrate, 2 grams dietary fiber, 2 grams total fat, 1 gram saturated fat, 3 grams protein, 503 milligrams potassium, 329 milligrams sodium, 189 micrograms vitamin A.